I absolutely love challenging bake projects which require a lot of creativity and ingenuity and was excited when a friend asked me to make a lion cake for her daughter’s birthday 🙂 Now as much as I love challenging bakes I equally love (if not more) finding out easy ways to achieve stunning results. Imagine my delight at finding this gem 👇 at coolest-birthday-cakes.com!!!

by Danielle R. (San Antonio, TX)
Now although Danielle states all the items she used the actual process wasn’t explained so I thought I’d write a post on how I achieved mine 🙂

My Lion Cake… he was a roaring success 😉
Here goes:
TOOLS
Pan – I went with an “8 square cake because I wanted the contrast of white against the mane and also so it would feed more mouths 🙂
Medium of decoration – Buttercream
Colours – I went with creamy white for the body, sandy brown for the skin and dark brown for the mane, nose, eyes, inner ear and whiskers (if you aren’t pressed for time I’d suggest black for the nose, eyes and whiskers).
Buttercream consistency – I used thin consistency for covering the cake and writing the birthday message but everything else is medium to stiff consistency
Nozzles – Wilton tips for the mane, for the face, for the whiskers and for the borders
12 Inch Cake Board – I wanted to write on the board and thought the green contrasting the white and brown would give it a jungle flair
PROCESS
STEP 1 – Bake, cool, fill and stack your cakes.
STEP 2 – Make 12 cups of buttercream.
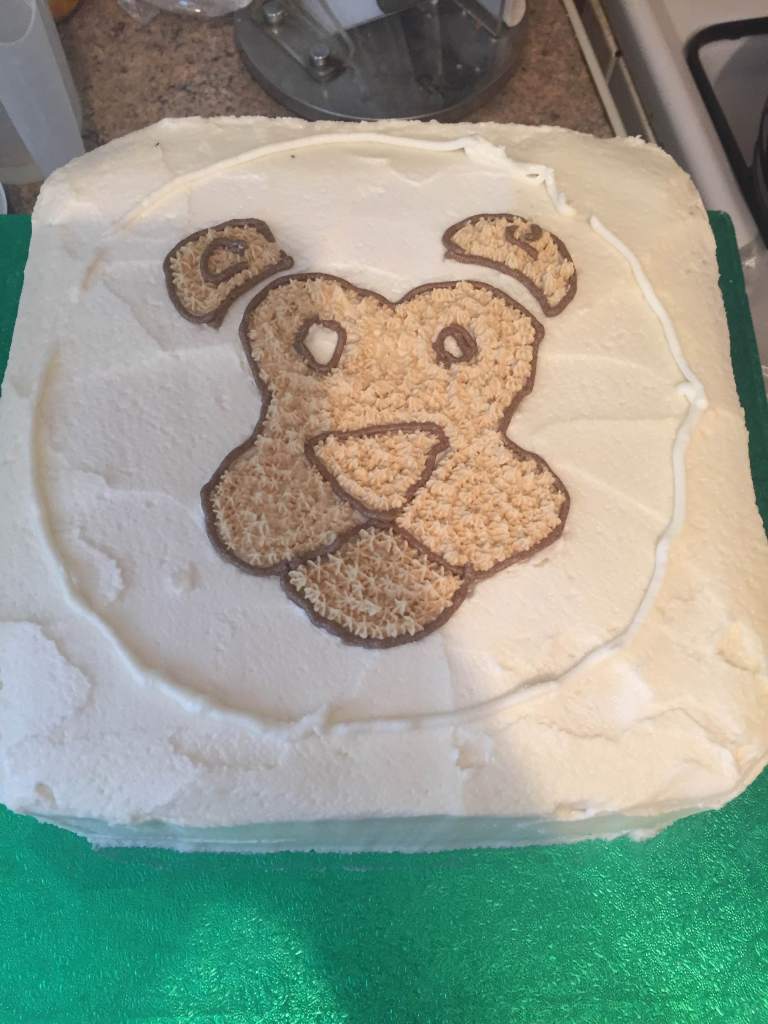
STEP 3 – Draw the lion’s face.

Outline of circle and lion’s face. I used the original photo as my guide but you can go for any lion’s face you wish. As you can see the piped circle isn’t perfect because I knew I’d be covering it with the mane and it was just a guide.
STEP 4 – Outline Lion’s face

STEP 5 – Pipe lion’s face and mane

STEP 6 – create borders for cake and write birthday message

So what do you think? Would you try it out? If you do please send me photos and let me know if you found my steps easy to follow. I’d love to read your comments on creative bake projects you’ve tackled.
Until next time… Have a good cake day!!!
XOXO
0 comments